

Disclaimer: I may affiliate with a product mentioned on this page. As a result, I may receive some compensation from the vendor. This affiliation does not influence any of my commentary on any product that I may write about, nor does clicking on the affiliate links cost you anything, in fact, you may save some money.
It’s Memorial Day weekend 2021. We have made it through to the end of May and the unofficial beginning of summer. On this holiday weekend, photography and utility software vendors are offering specials on their software or soon-to-be-released products. Since there are many, I’m just going to summaries them for you here.
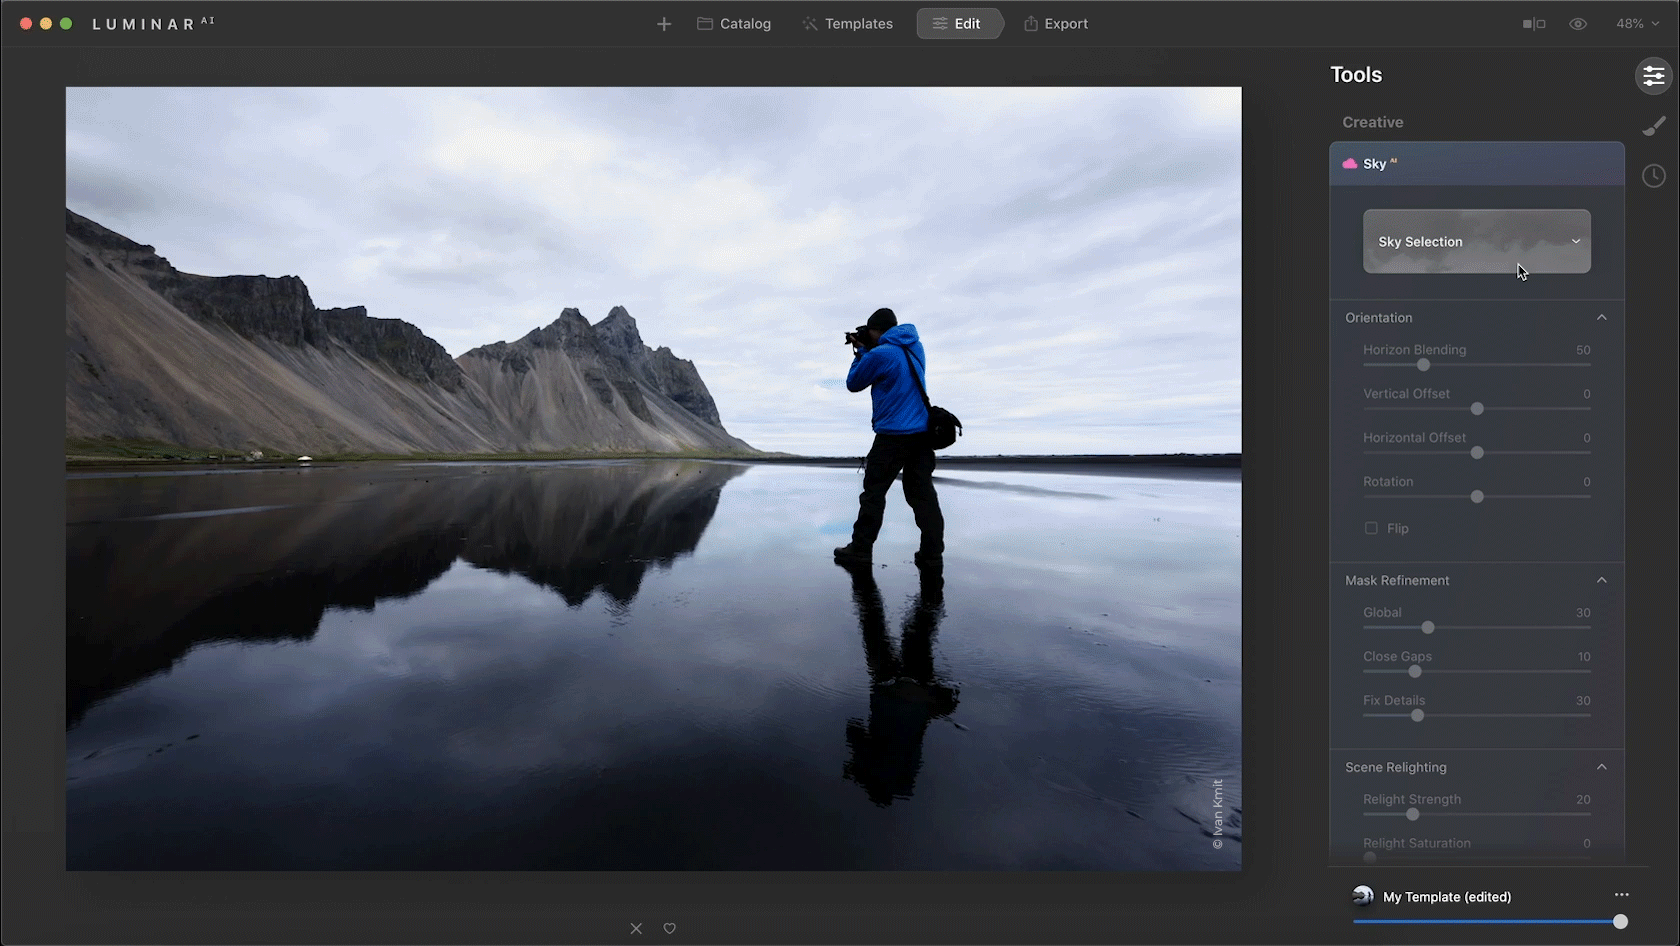
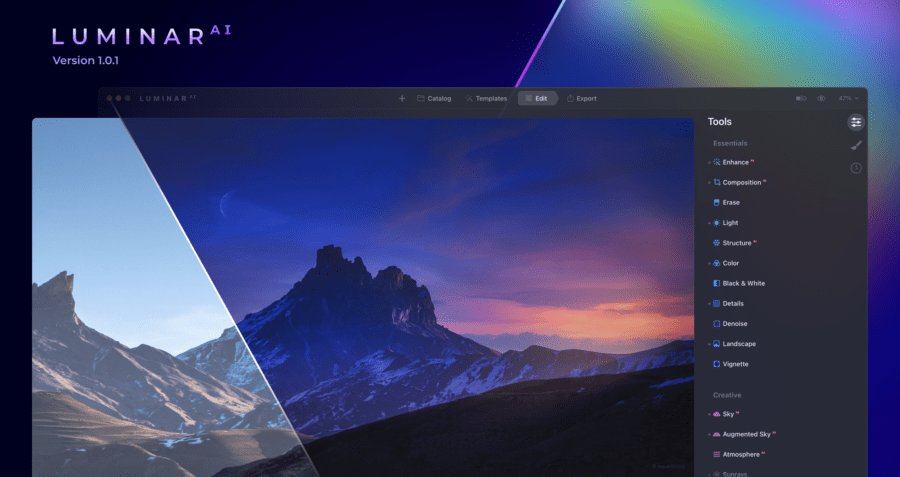
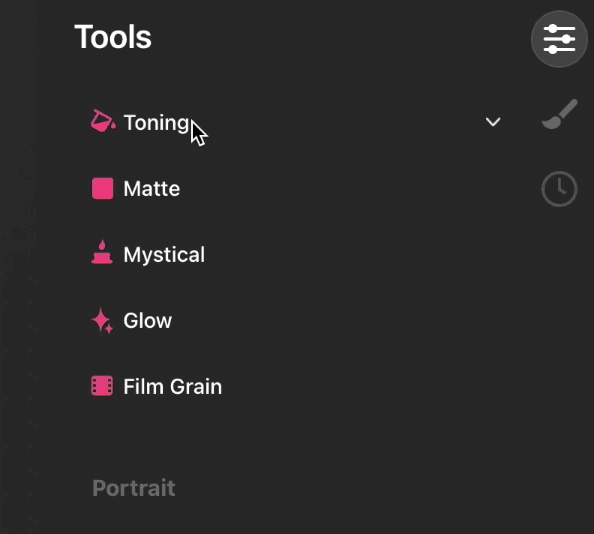
Luminar AI
Luminar AI just released UPDATE 3
Additions in update 3 include
- Better Sky detection
- Better Reflections
- Better Relighting
- Support for Apple M1 hardware
- HEIC image format support
Use Luminar Coupon Code of MARKDODD to save
On Noise AI Pre-Order
This new product from On1 is separate from On1 Photo Raw and is dedicated Noise reduction software. Current owners of On1 products can pre-order at $30 off using the coupon code of “NONOISE30″ which expires May 31, 2021. It will ship in June of 2021.
You can also try my coupon code of “MDODD20” to see which gives you the bigger discount.
Topaz Labs
Topaz labs is ever improving their products and there are several recent udpates.
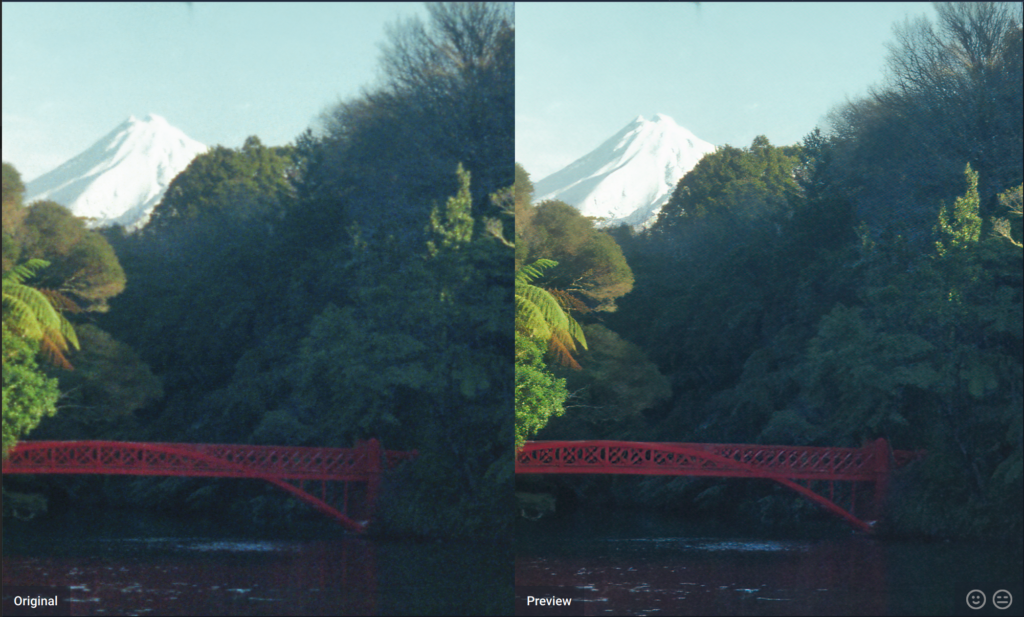
- DeNoise v3.1 with a new AI Model. “Severe Noise”
- Video Enhance AI v2.2, which includes a brand new Comparison View
- Sharpen AI v3.1 was just released, too! In this update, we’ve made big improvements to the Photoshop plugin when running natively on Apple M1 silicon
DeNoise 3.1 is on sale now, Save 25% until 6/4. User my Topaz Labs Coupon Code of MDPDEAL to save 15% on other Topaz Lab products.
Corel Special Offers
Discounts on a series of Corel products including the new VideoStudio Ultimate 2021, Paintshop Pro 2021 Ultimate, Painter 2021, and many others.
You can get an extra 15% off off select downloads using Coupon 15MORE
Active Corel and Associated software Coupons
| Coupon Code | Discount | Products |
|---|---|---|
| 10CORELSAVE | 10% Off | Most Corel products, excluding CorelDRAW |
| 20ROXIOSAVE | 20% Off | Roxio Toast and Creator Products |
| TOAST19SAVE20 | 20% Off | Roxio Toast 19 Products |
| VSP2021SAVE10 | 10% Off | VideoStudio Products |
Capture One
Although not a holiday special it is worth mentioning.
Capture One now support’s Apple’s M1 hardware. The M1 support update is free for existing users.
The above link goes to the trail download page, but if you end up buying use promo code “DODD” for extra savings.