
Not only is On1 Great Software, they believe in photography and are offering free presets for Adobe Lightroom, Adobe Camera Raw, and LUTs
Get your free offer from On1, just click the link below.

Not only is On1 Great Software, they believe in photography and are offering free presets for Adobe Lightroom, Adobe Camera Raw, and LUTs
Get your free offer from On1, just click the link below.
I know it has been awhile since I’ve done a post here. Until today, I didn’t realize that I missed the entire month of Feb.
But it has been for good a reason. I’ve been busy setting up my new portal page for my Art Show business, American Kiwi Photo.
In preparation for the 2020 Art Show Season I though it best to finally get around to setting up my “Portal” page to all things American Kiwi Photo.
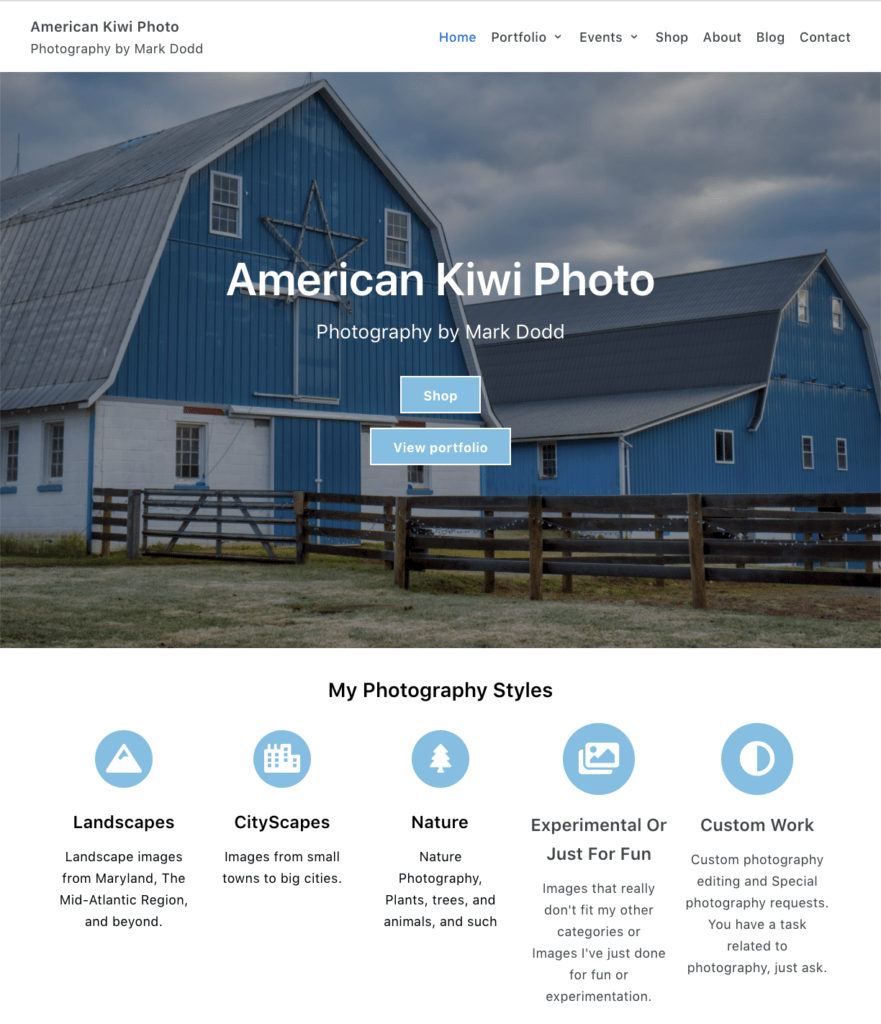
Here you can find more about my photography, where I will be this art show season, see my current portfolio, and access the various ways you can get your very own photography print by me, Mark Dodd via American Kiwi Photo.
Please check it out and let me know what you think.
I’ll admit, I’m not the biggest winter fan as I like Spring and Fall much better, but if it has to be cold outside I’d prefer snow.
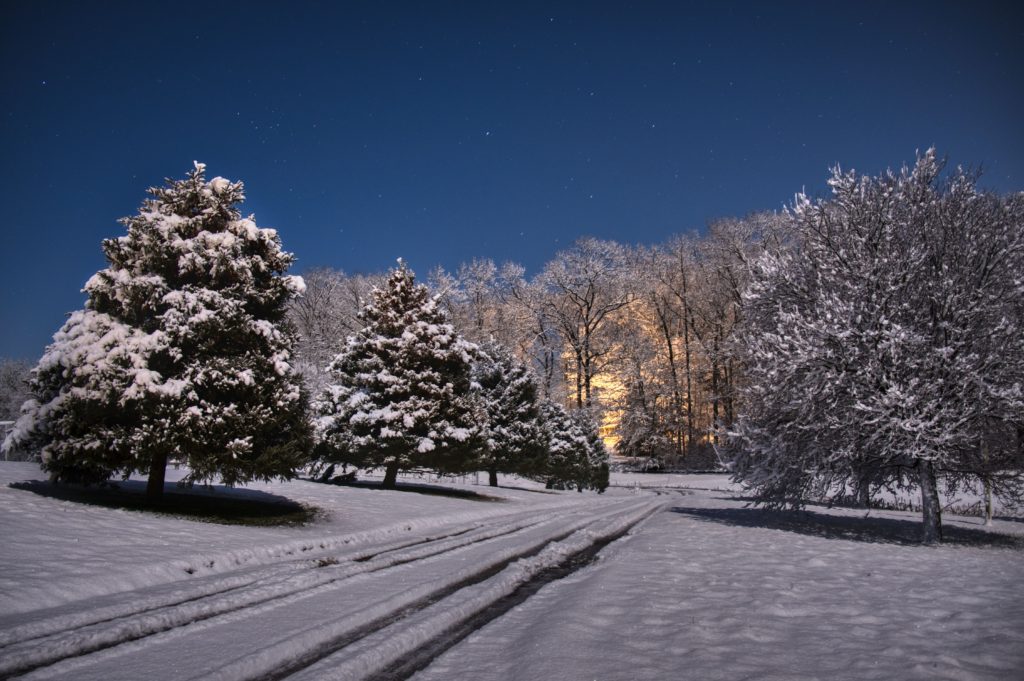
It snowed a little for us in the beginning of January and since it was a full moon or close to it I decided to try taking some long exposure night shots. Below is one of those shots. I’m amazed at how bright things look just with the moon light. If it wasn’t for the stars and the house light in the distance, it could almost pass as a daytime shot.
Enjoy
If you have ideas on this image or other thoughts of what other subject to get photographs of during the winter, please drop me a comment below or feel free to contact me.
It’s that time of year again, that it is the end of my Art Show Season this weekend. If you are in the Carroll County, Md area, but sure to stop by the Carroll Farmers Market in Westminster at the Ag Center this Saturday from 8 am to 2 pm.
Since it is the last show of the year, it is also a customer appreciation day, and I will be giving up to 25% of my prints. So if there was something that you liked during the year, but didn’t get it, this weekend will be your best deal of the year.
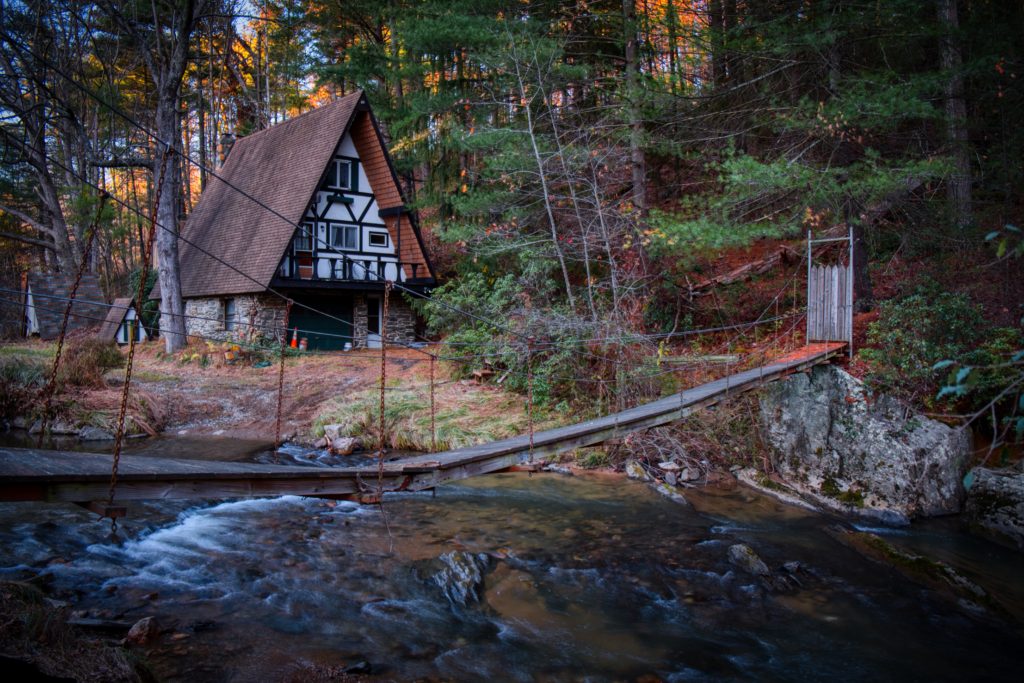
Not totally sure that no one lives in this home anymore, but I’ve always loved the look of it by the stream. Even though the footbridge is no longer usable, I think it still ads character to the scene
Skylum is shipping Luminar 4, Their next major release in the Luminar Photo Editor for both Mac and Windows
Use Luminar Coupon Code
MARKDODD
and Save an Additional $10
With the latest release comes several new enhancements that will make editing your photo faster and easier by using the builtin AI tools
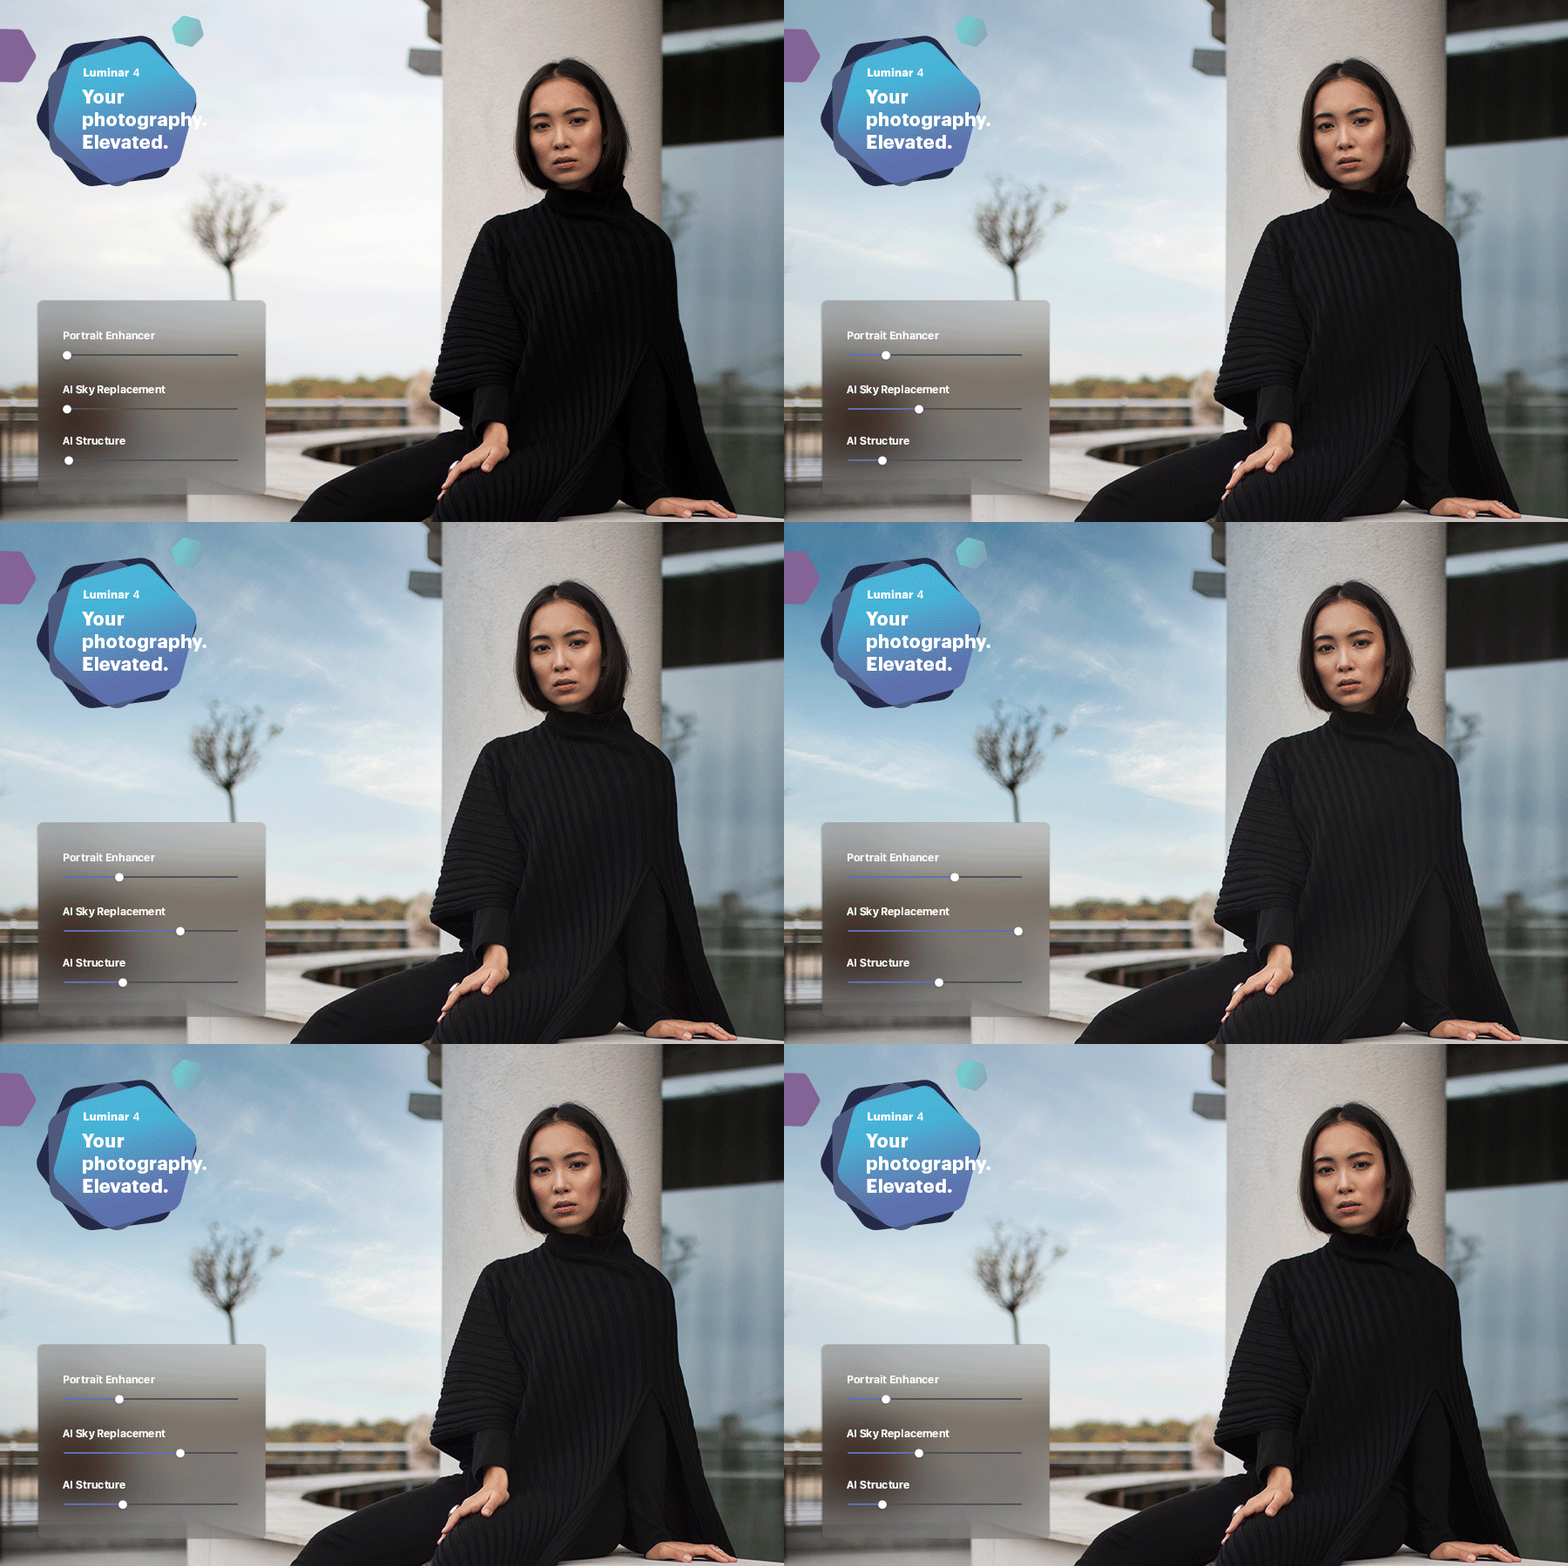
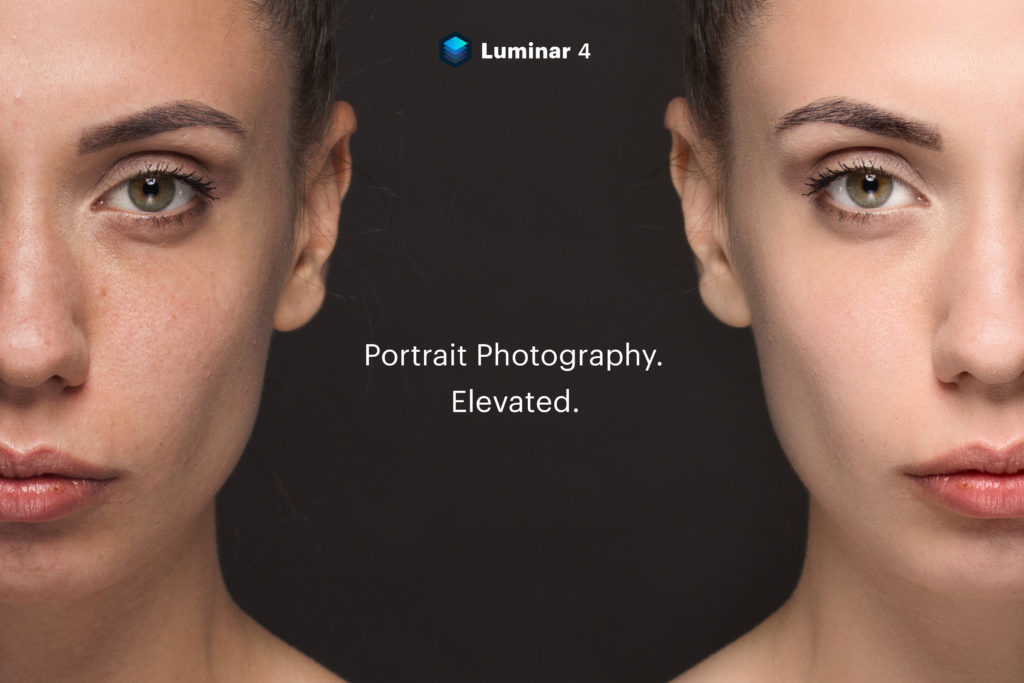
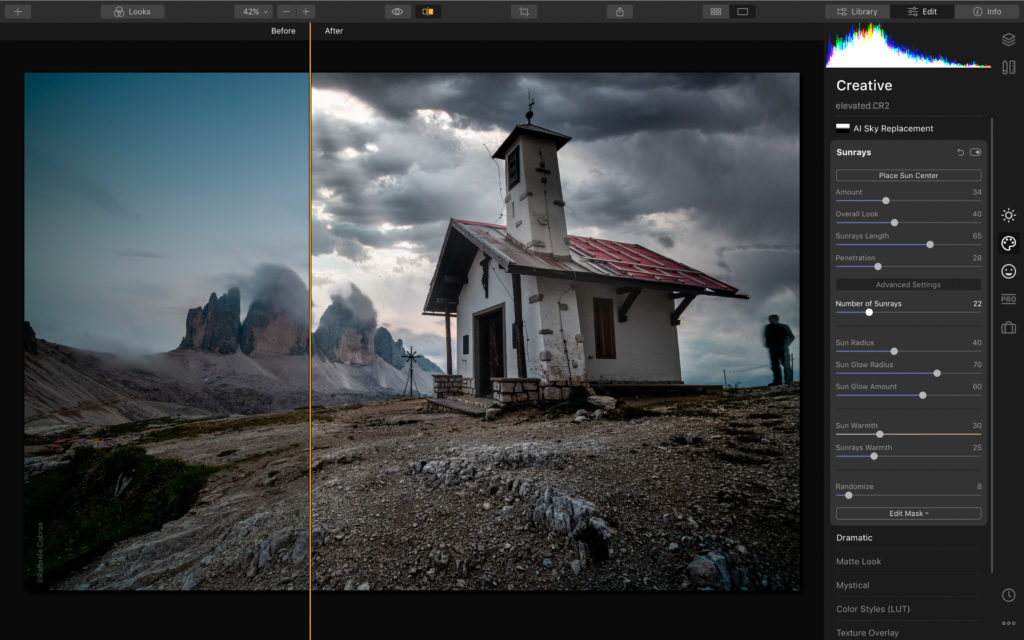

You can download a 7 day free trial of Luminar 4. The quickest way to get the download is to click the Learn More link above, then on the page, you are sent to, click the Luminar menu at the top of the page and select the Download Trial link

Fujifilm recently had the 2019 Fujifilm Printlife Photo Exhibition & Sweepstakes contest of which I entered one of my prints.
I was honored to receive the following email from them.
Hi Mark,
On behalf of the entire Fujifilm Printlife team, we would like to thank you for submitting into the 2019 Fujifilm Printlife Photo Exhibition & Sweepstakes.
We are pleased to announce that you have a submission that has been sent to be printed and put on display at New York City’s Grand Central Terminal!*
You will be a part of this year’s incredible exhibit, showcasing 13,640 photos!*
We hope that you will join us October 16th through the 20th in Grand Central Terminal’s Vanderbilt Hall to see all of the amazing photos on display this year.
Check out the dates and times here:
We are looking forward to seeing and meeting you at the event!
Thank You,
The Fujifilm Printlife Team
So if you are in the New York area from October 16th through the 20th and have a chance to stop by the Grand Central Terminal. Keep a look out for my image being displayed as part of this exhibit.
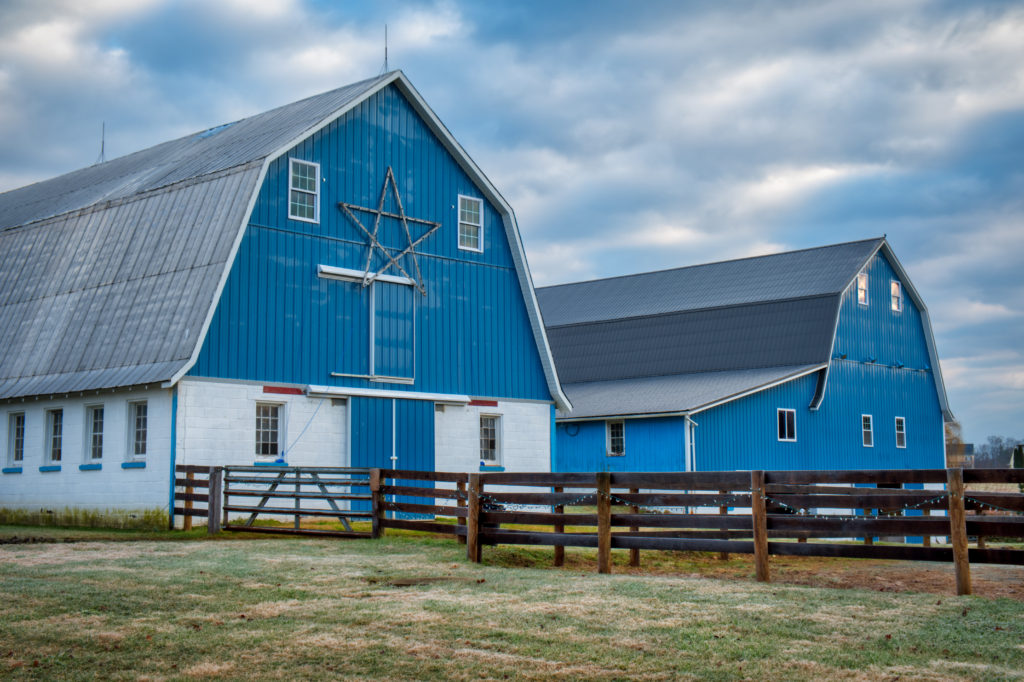
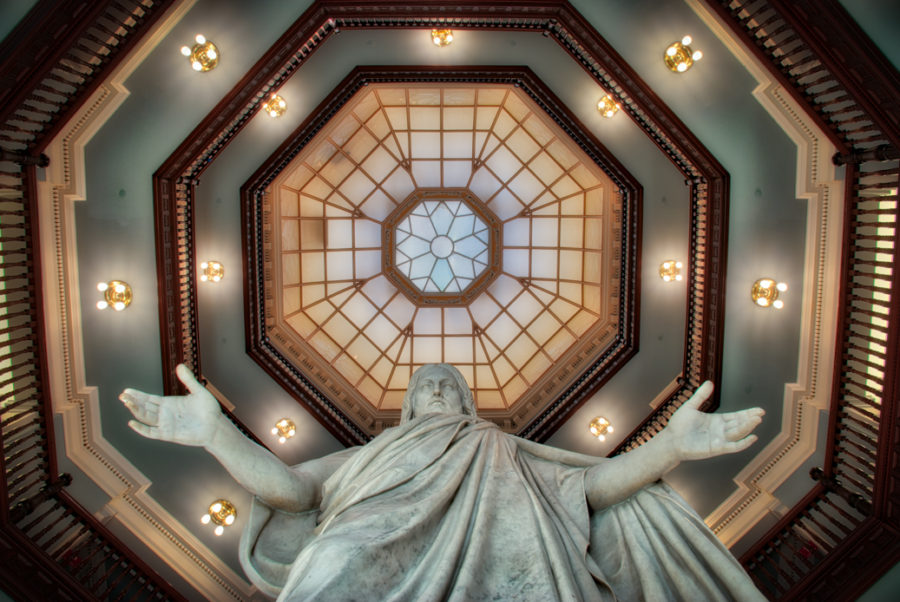
Here is my image to keep an eye out for. Note: in the exhibit, this image was cropped to fit the square format, the below image is the full image as taken
I belong to my local camera club, the Carroll County Camera Club, which is part of the Maryland Photography Alliance (MPA), an organization of the made up of many of the local camera clubs
The Maryland Photography Alliance (MPA) recently held it’s 3rd annual photography contest. Although I didn’t win the prize level in any of the 3 categories that I entered, I was invited to exhibit one of my entrees as one of the top images of the competition.
The image that I was invited to display in this gallery is titled
So be sure to visit the Activity Center at Bohrer Park in Gaithersburg from November
This was taken with my Nikon D80, at ISO 200, 18mm focal length, 0.8 sec at F8.0. It is cropped a little as I had to lay my camera blindly on the floor and set it to take my 3 bracket exposures on a timer so everything wasn’t exactly lined up. It was edited in Aurora HDR 2018 and may have been touched up with Luminar.
I know I’ve been kinda absent from doing posts like I use to do, but I’ve been a little busier that I thought with a project I’ve been putting off for some time. What is that project you say.
Finally getting around to doing cleanup and merging all my photos into one location. I didn’t think it was going to be as big a job as it has been and I”m still not really finished. To my surprise I have many copies of files all over the place on different computers, spare hard rives, flash memory, etc.
I didn’t know how I was going to deal with all the duplicate images. Even though programs like lightroom have a duplicate photo not to import option I found that even though the image looked the same in some cases, the metadata was different and that is what lightroom seems to rely on as part of its determining if a photo is a duplicate. Another problem was that after using several different applications over time each had created a preview version which is a low resolution version of and image and I had to make sure I was only importing the full resolution image instead of just the preview.
One program that I found that was some help was Duplicate Photo Fixer Pro. It did an excellent job on helping me find duplicates of my non raw images. (jpeg, png, tiff, etc). So if you have a folder full of images that you thing contain duplicates I can recommend this program. Just note that it does not work with RAW files.
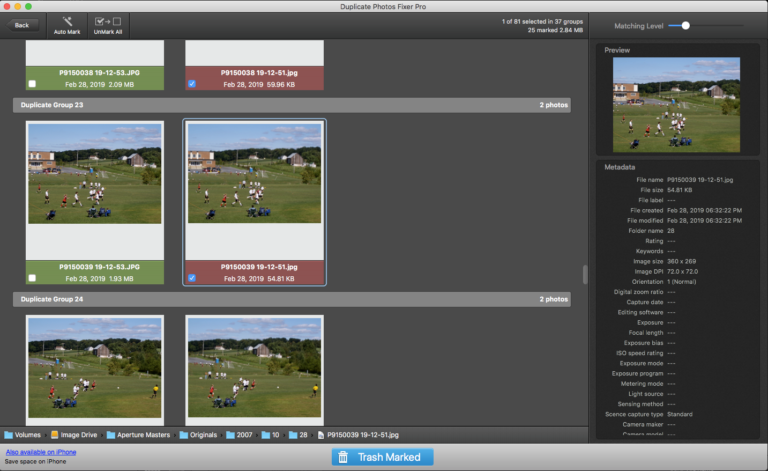
After using this program I freed up almost a TB of space when you total up all the duplicate images that I removed.
Like I said earlier, I’ve been using various programs over time and what prompted me to start the cleanup is the fact that Apple’s Aperture software, which was my first real editor, will no longer work with the next release of the Mac OS (Catalina) so I needed to make sure I could access all my Aperture images in other programs before that happened.
I’m almost done and I hope to get back to editing more images, taking great fall images, and finding and showing you more interesting photography software and tools in the near future.
But as the Fall season is upon us and in some locations, the tree leaves are already at their peak, make sure to get out there as soon as you can before the season is over and get those great fall photos. It’s one of my favorite times of the year to photo.

Have been given the opportunity to review Mass Water Mark for Mac and Windows OS. Disclosures: I have been given access to the software, but other than that I have no affiliation with the software vendor.
I’m not one to usually watermark my images and I will not get into that debate here as to why or why you wouldn’t want to watermark your images. But for those that do and need an application to watermark your images, this may be your solution, especially if you are a Windows user.
The features vary between the Mac OS and Windows versions at the moment with the Windows version having the full feature set.
The windows version of this app is full-featured app for creating watermarked images as well as a way to mass resize images. It can import jpeg, png,
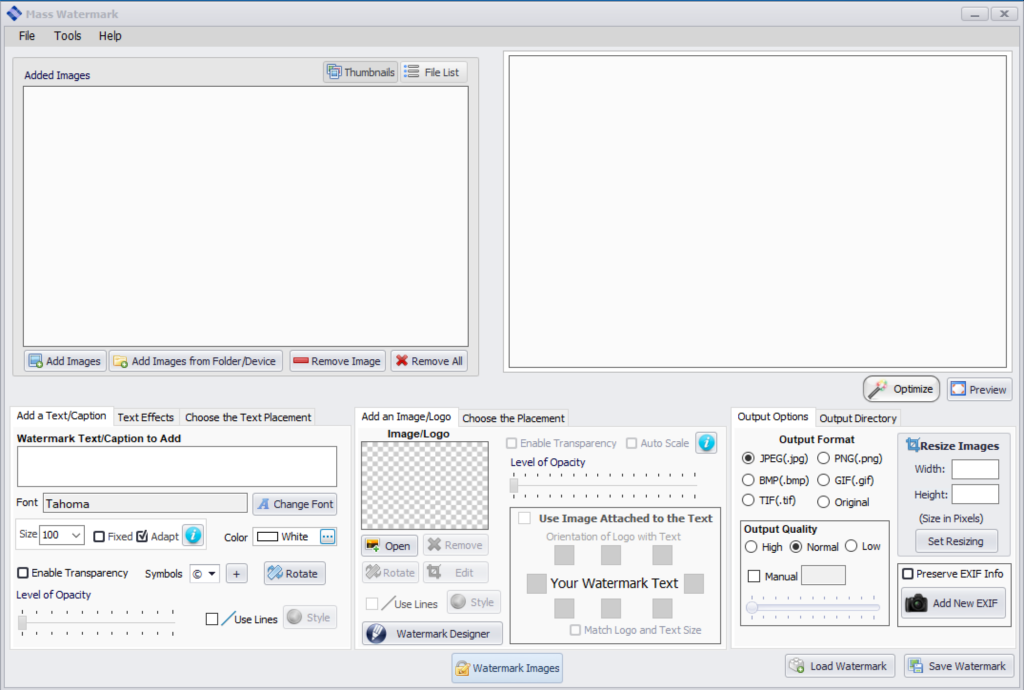
Below is the Mass Watermark interface. You have quick access to all the features in this one interface. The top left is where you import the images to be watermarked, the top right shows a preview of the selected image with the watermark. The bottom half is where you enter your text, image logo, and choose your various options
Below is the Watermark Designer
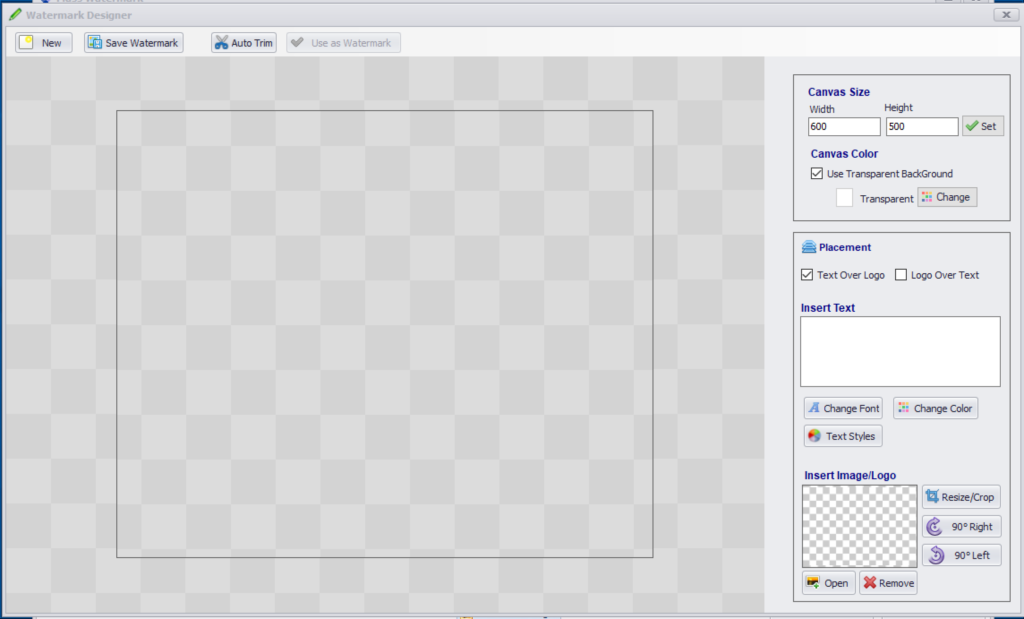
Since my logo is usually a large format image I needed to scale it down and the Watermark Designer handled this very easily.
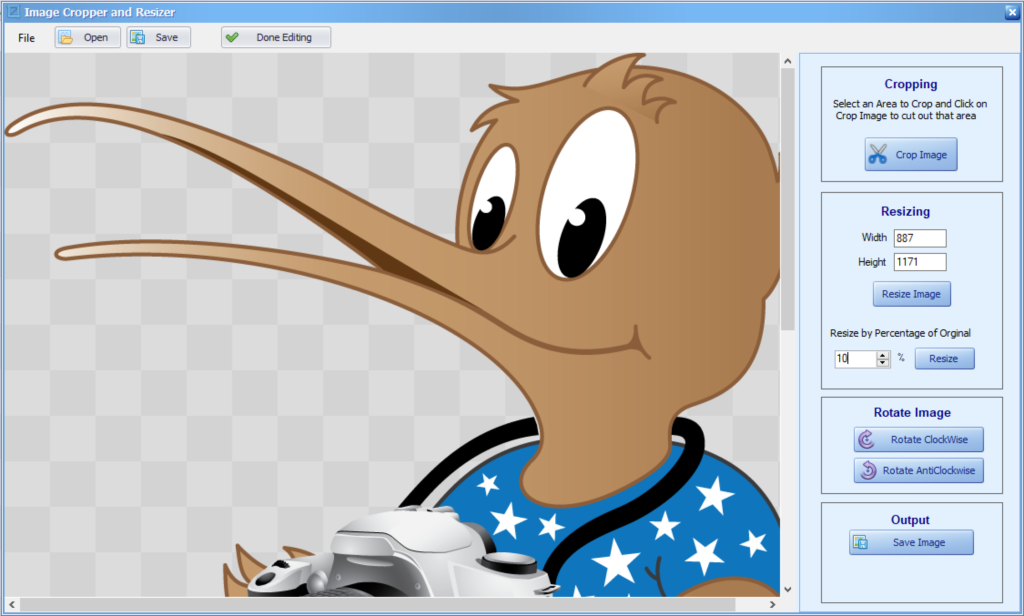

Another option under the top right section is the ability to do a quick optimization of the image. Below shows the basic editing options you can do with this app when you click Optimize.
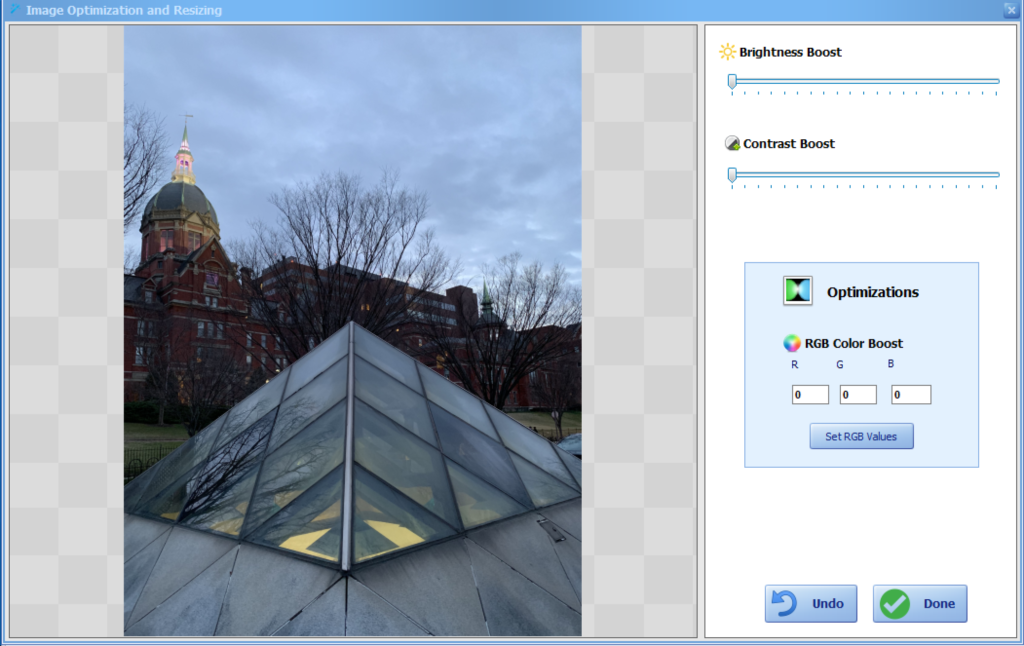
Now that I’ve created my watermark with the Watermark Designer I have brought it into Mass Watermark and showing a preview of a watermark on which I added text and a logo. It is showing large and not transparent for easier viewing as an example.
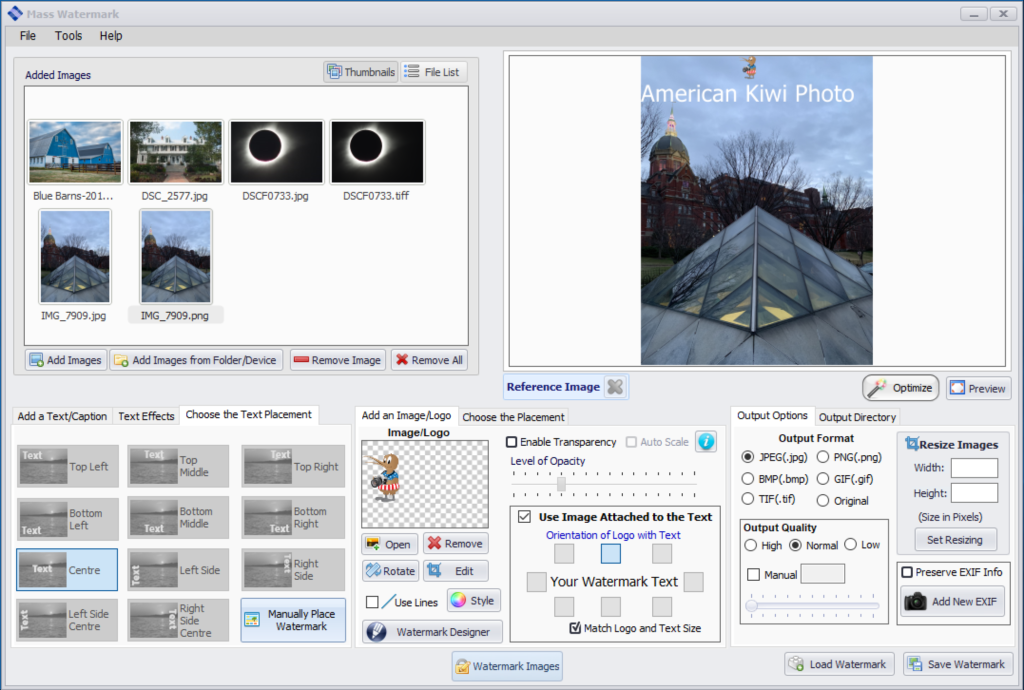
Watermark Designer to create a custom watermark with a logo and customized text. I did save it for future use, but if you click the use as watermark and you will be sent back to the Mass Watermark interface and see it as a preview of one of your current images. If you choose to save it, to use it in future watermarking, you would choose the save image in the open image logo section to bring it back in. Here is an example of a custom watermark created with the WaterMark Designer.

Now in this is the interface showing the custom watermark that I created above with the Watermark Designer. Once it is in the Mass Watermark app and you want to move its location, you can double-click on the preview and it will present you with another window where you can click and manually move the watermark’s location. You could also use the logo positioning options to autosize the image, make it transparent, and choose a position. Keep in mind that the location applies to all the images you export. So take that into consideration when you position it and when you are creating it. For example, in my sample images, if I had chosen the black text for my solar eclipses images you would not see the text.
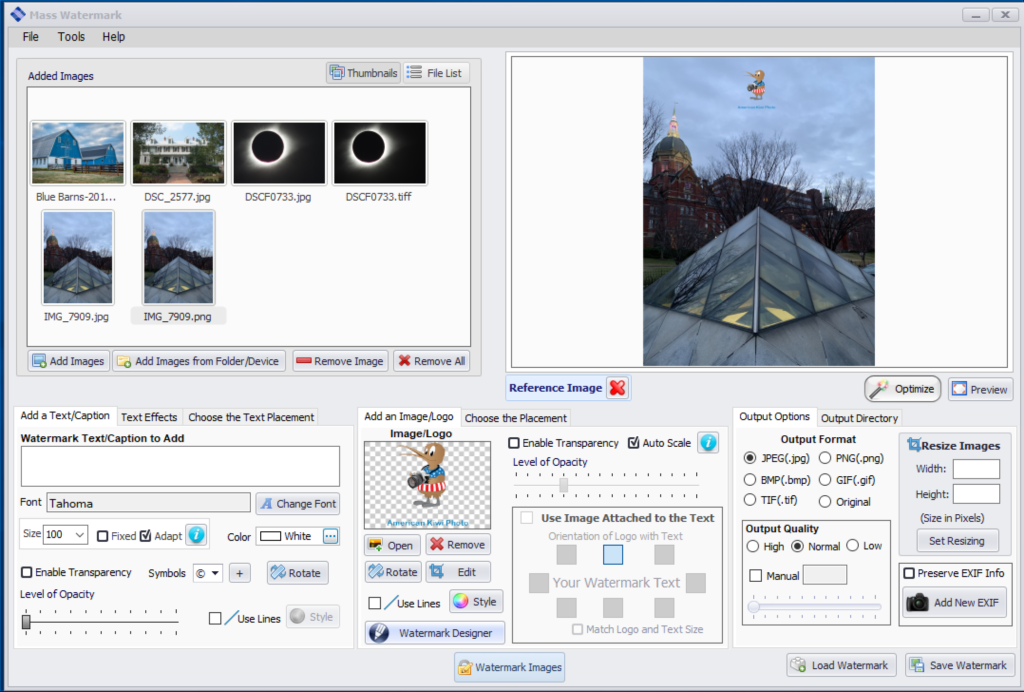
Once you have set all your options and positioned your watermark, just click the WaterMark Images button. You will be prompted on where you would like to save the watermarked images via a standard windows dialog box. Selection your location (I recommend creating a new folder) and away the program goes rendering your watermarked images. Below I show one of my images with a custom watermark. Again, I left it large and none transparent for easier viewing as I would make the watermark smaller and transparent as not to take away from the image.
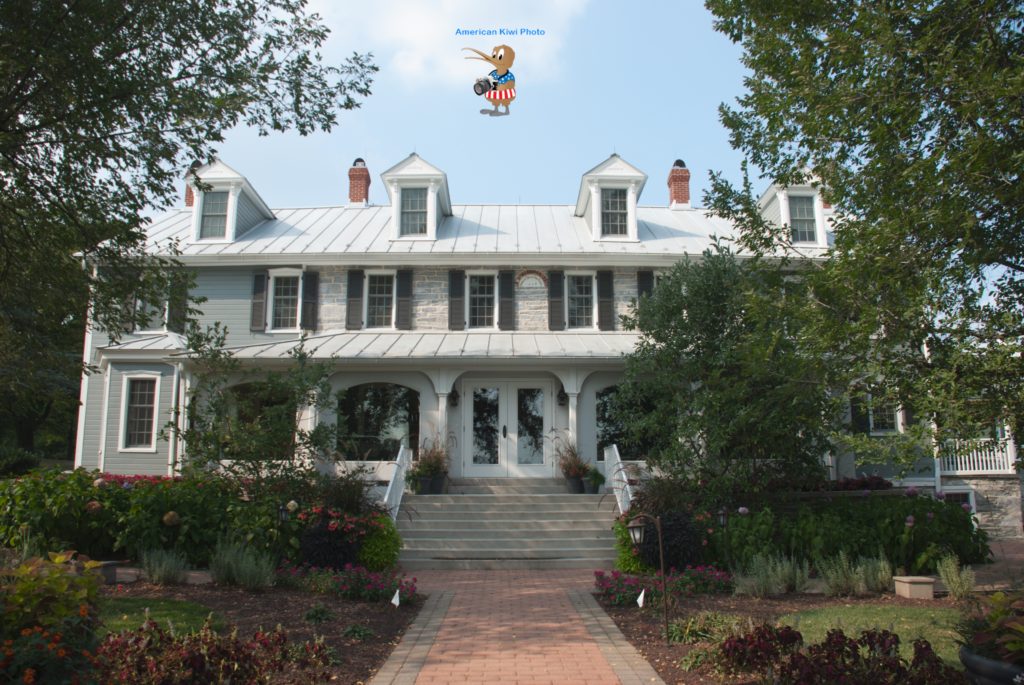
One note: as in my example above I have the solar eclipse image as both a jpg and tiff image in the import folder, the program is smart enough too realize that this is the same image and when applying the watermark and saving the resulting images, it only saved one version of this image. This can come in handy if you have a folder of images that you are bringing and you didn’t realize you have multiple formats of the same image
The Windows version of Mass Watermark is a
The Mac version is missing
It can import jpeg, png, tiff formats. It does not import HEIC format which is one of the formats from your iPhone. You will have to convert it to regular jpeg first.
The interface is rather dated and it does have some limitations such as you cannot resize the window to take advantage of your larger screen sizes. This is still version 1.0 and was written in 2015.
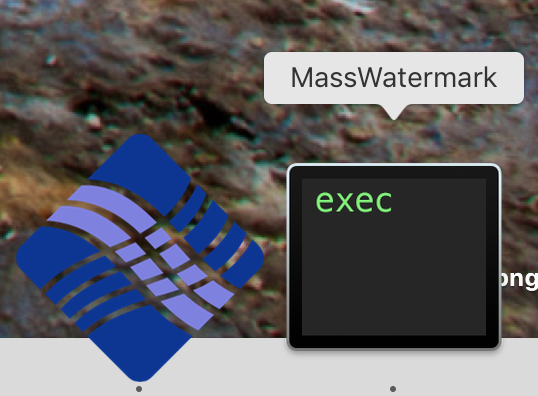
I have been testing it under Mac OS 10.14 and it does run. It will open two applications, one is the Mass Watermark app that has the app menus and the other is the interface showing up as MassWatermark. This does make things a little confusing. Shown below are the two dock icons that show for this app and the Mac Interface.
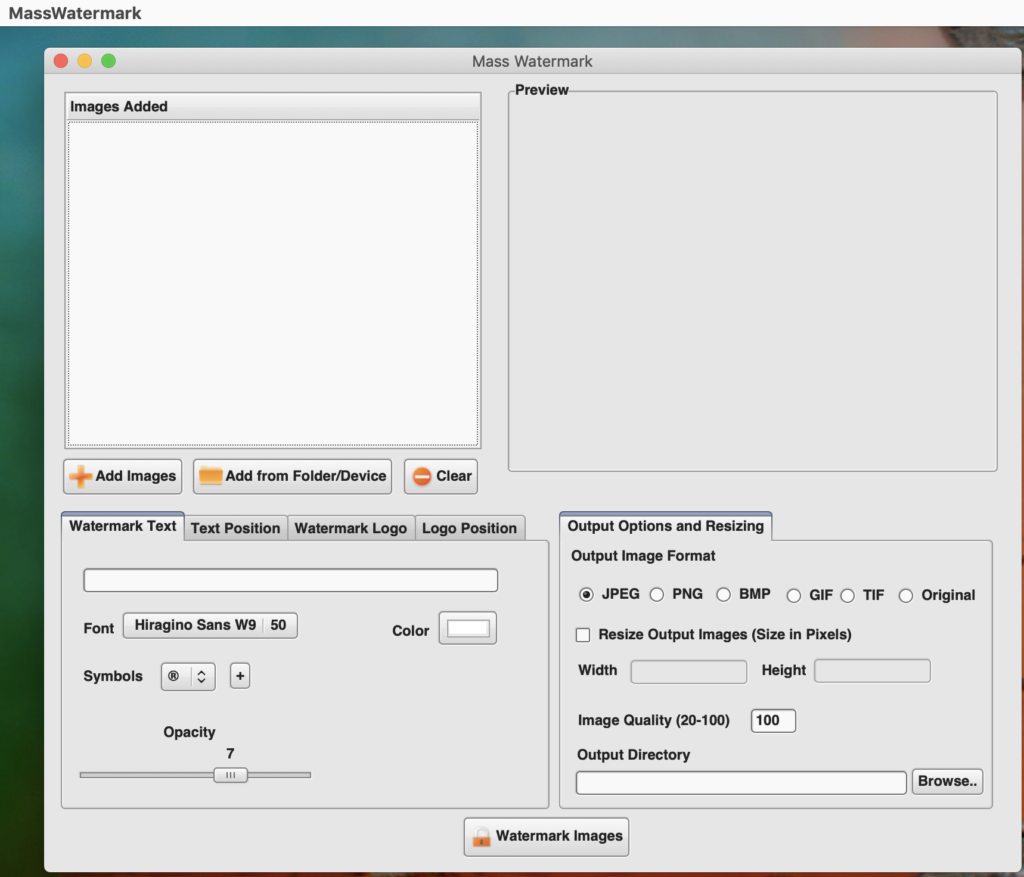
As with the windows version, you can enter your custom watermark text, change the font and size of the text, choose the placement of the text, select a watermark logo image, and place the position of the logo image.
If you are going to use an image for your watermark, you will have to resize the image outside of Mass Watermark before you bring it into the app. If not, depending upon the size of the image, it may fill the image with your watermark depending upon the resolution of your watermark image and the image you are watermarking.
To enter your license key in the Mac version it is not obvious as there is not a menu option, you have to open the app then click the close button on the interface app and you will get prompted with the below dialog where you can enter your license key, buy the app, or quit the application.

On occasion, I have had and issue with some of the menus in the menubar of the application disappearing, but if you quit and reopen the app they come back. This is a 32bit app, so mac OS 10.14 will be the last version that can run this application as with the next version of Mac OS you can only run 64bit applications. I have been informed by the vendor that they have plans to redo of the software and I expect it will get the same features as the Windows version and be compatible with the current Mac OS at that time.
In short, though, I cannot recommend the Mac version as a whole, but if all you want to do is a text or image watermark it may work for you. I would recommend waiting on the new release when it comes out.
There support section has a complete video library on how to use all the features for the Windows Version
Price as of this review is $30
This week ON1 Software has announced their new vision for photography for 2020.
Adding to their existing product line of ON1 Photo and the ON1 Plus subscription with a series of new applications to complete your photography workflow.
Coming in 2020 is a new release of ON1 Photo, ON1 PhotoRaw 2020 along with the new applications of On1 Photo Mobile 2020, ON1 Sync, and ON1 Video 2020.
With the new apps being added to their existing product line you now have a complete set off applications for your workflow.
ON1 is running a special where you can upgrade or purchase the current release of ON1 Photo Raw 2019 and you will receive the next release ON1 Photo Raw 2020 when released. Just a reminder, if you are an ON1 Plus subscription customer, you receive the next release as part of the subscription.
If you do need to upgrade or purchase don’t forget to use my ON1 Coupon Code of MDODD20 to save more.
#on1photo #on1software #roadmap #on1photoraw2020