Disclaimer: I have an affiliation with one or more of the vendors mentioned on this page and as such may receive some compensation from them.
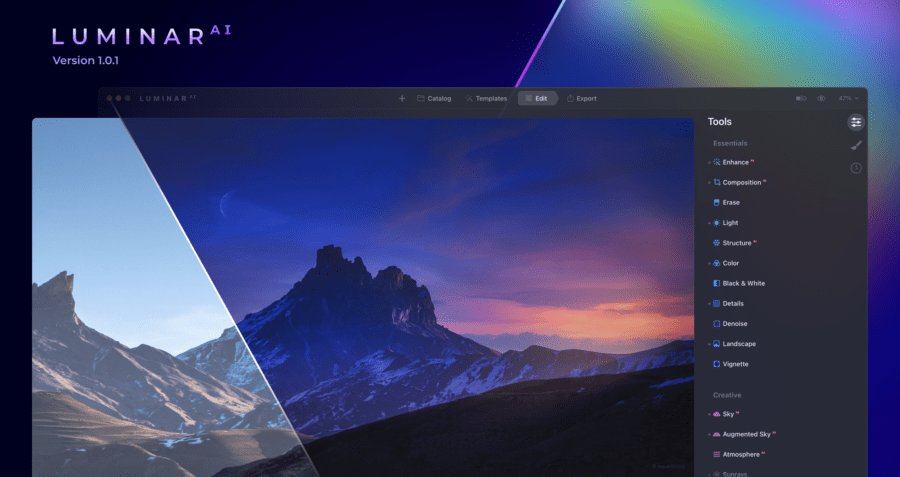
The first LuminarAI update is here. This update is focused on bug fixes and making the editing flow easier
What’s new in version 1.0.1
The updates in this release are considered usability updates versus actual feature updates.
A better Edit Panel
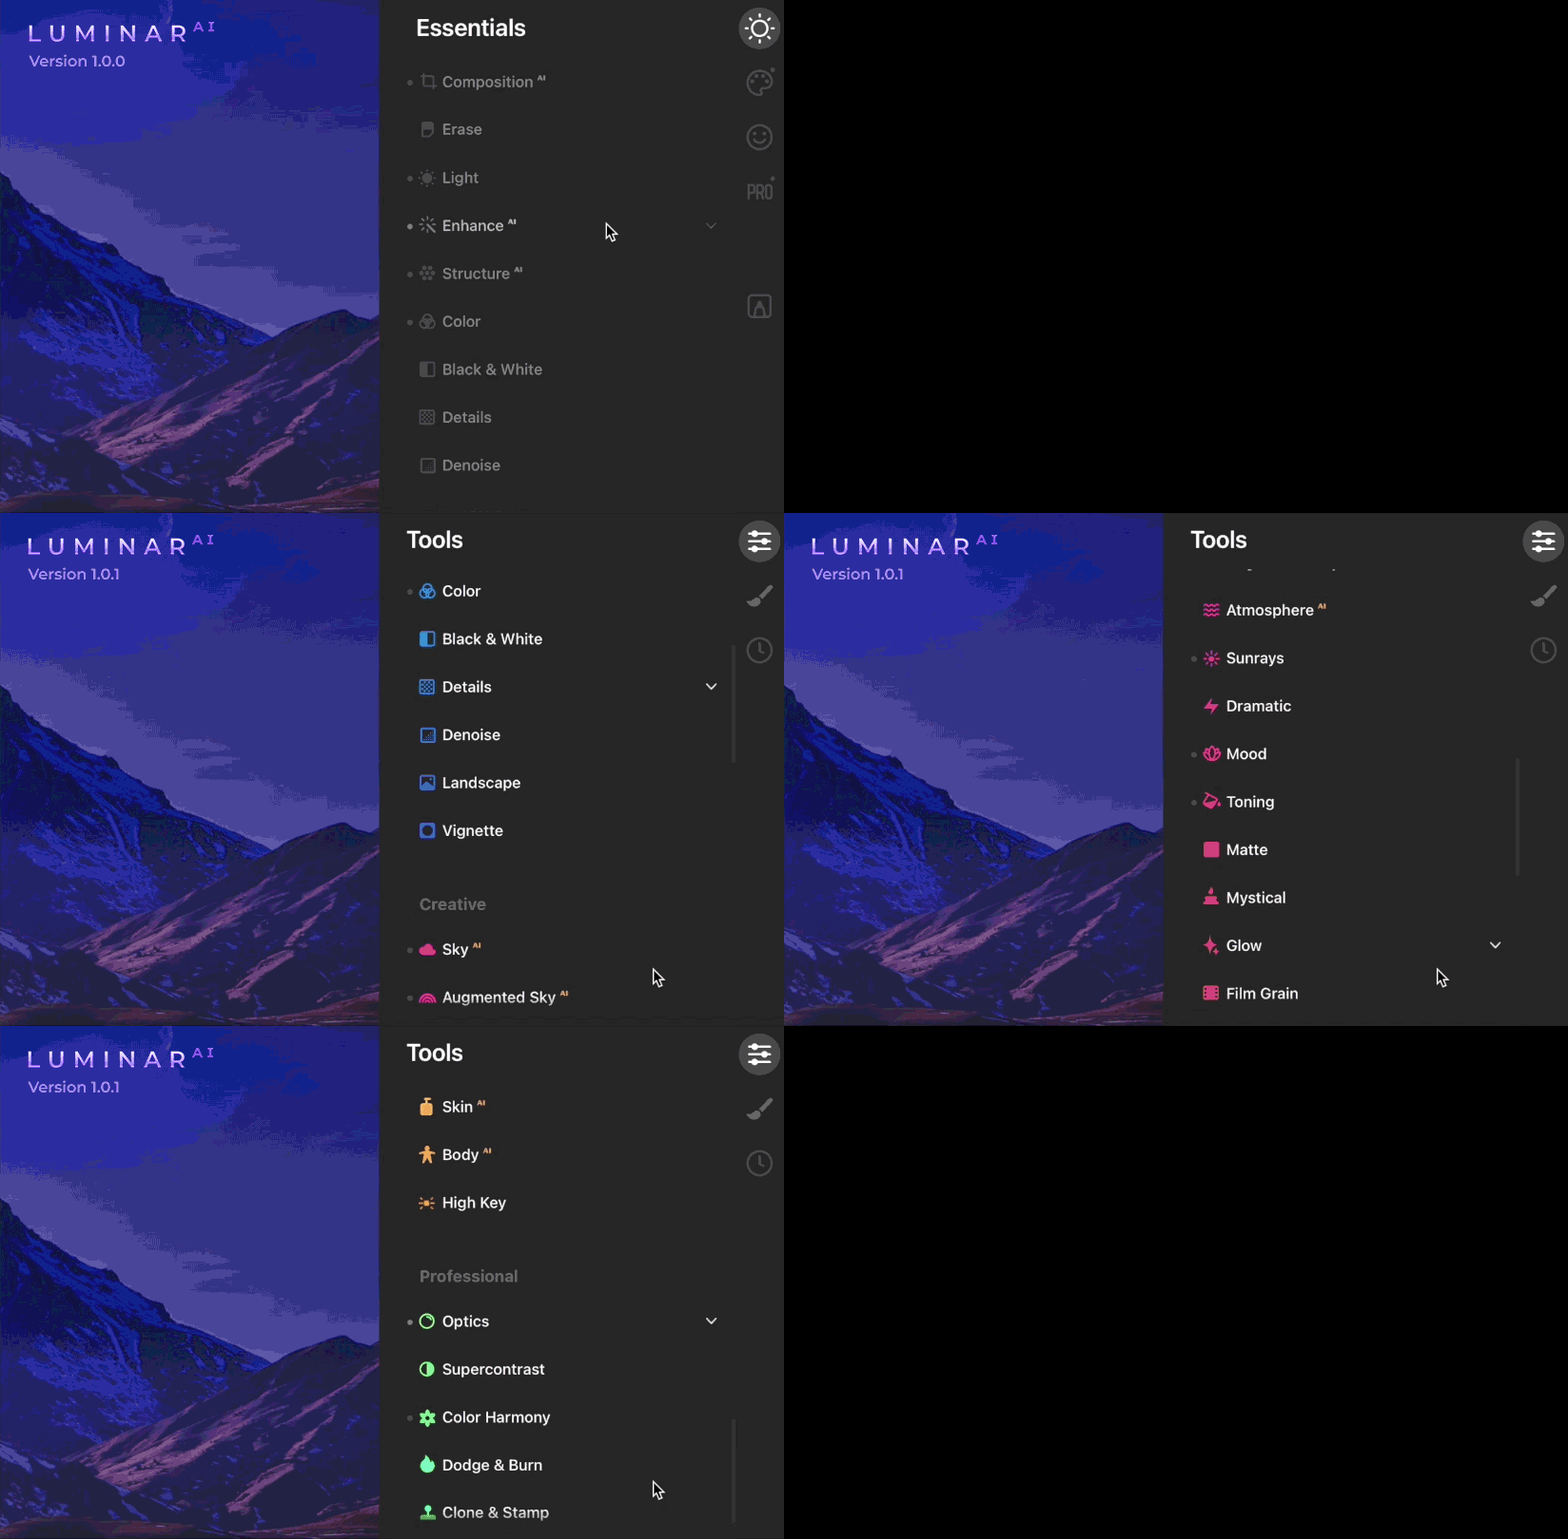
In LuminarAI 1.0.1, you’ll find a more comfortable Edit panel layout with all of the Edit tools in one list. The Essential, Creative, Portrait, and Pro tools are divided into color-coded categories, but there’s no need to switch between tabs.
In version 1.0 version, there were separate tabs that you clicked on to see the options for that group. Now each section (Group) is still there, but you just scroll down the full expanded list still organized by sections, but the options are now displayed

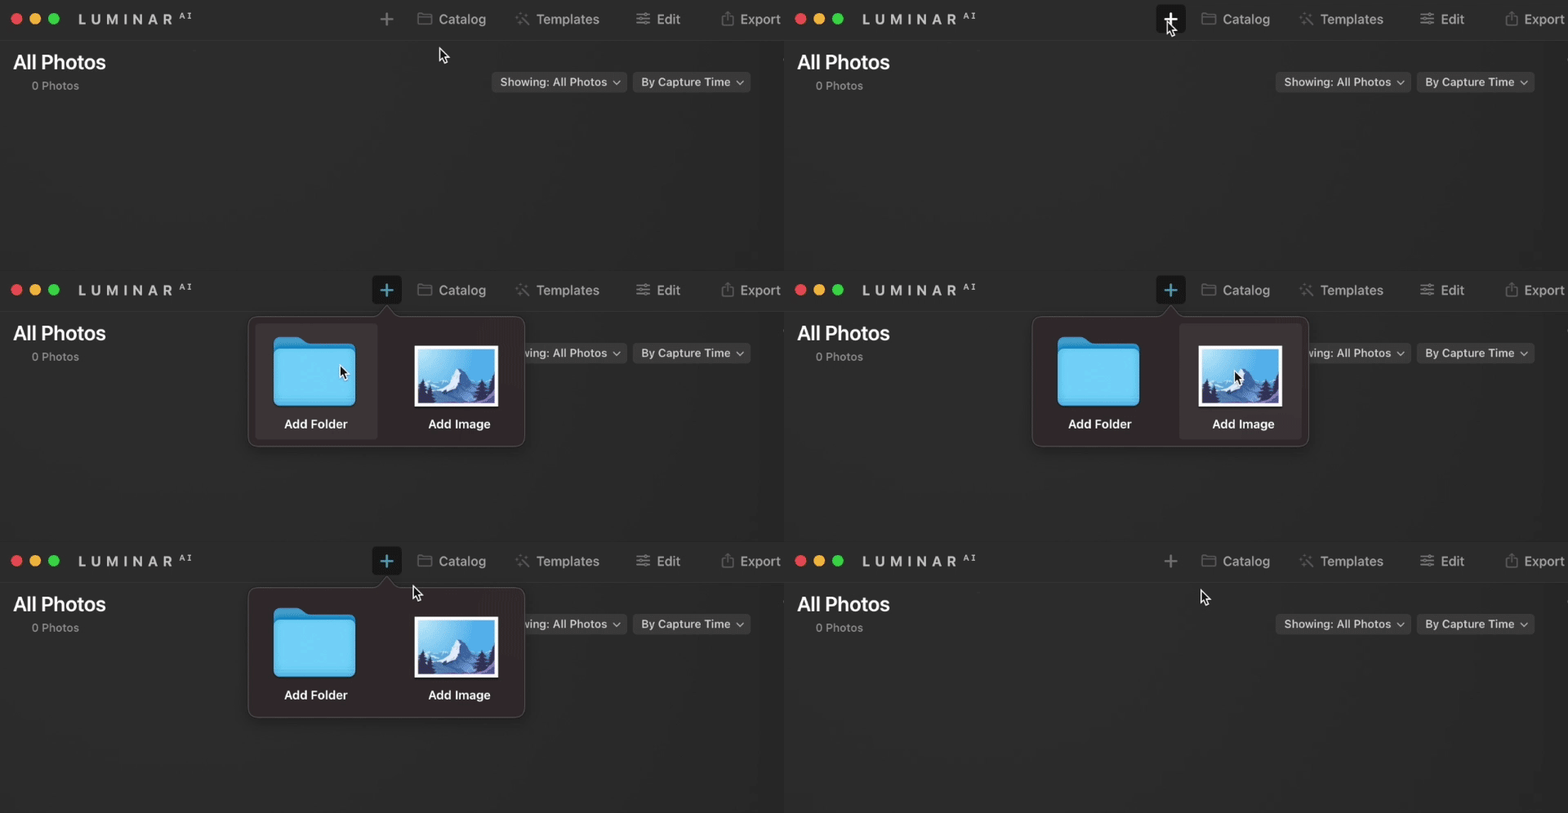
A new pop-up interface when clicking the Import icon
A more intuitive interface when importing photos. Just click the plus icon in the toolbar and choose whether you’d like to add a folder or add a single image.

Enhance AI is now the default
The EnhanceAI tool is now first in the Edit tools list and opens by default when you access the Edit panel.
For this photo: easily scroll through the templates
You can now use arrow keys to scroll through the AI recommended templates for this photo
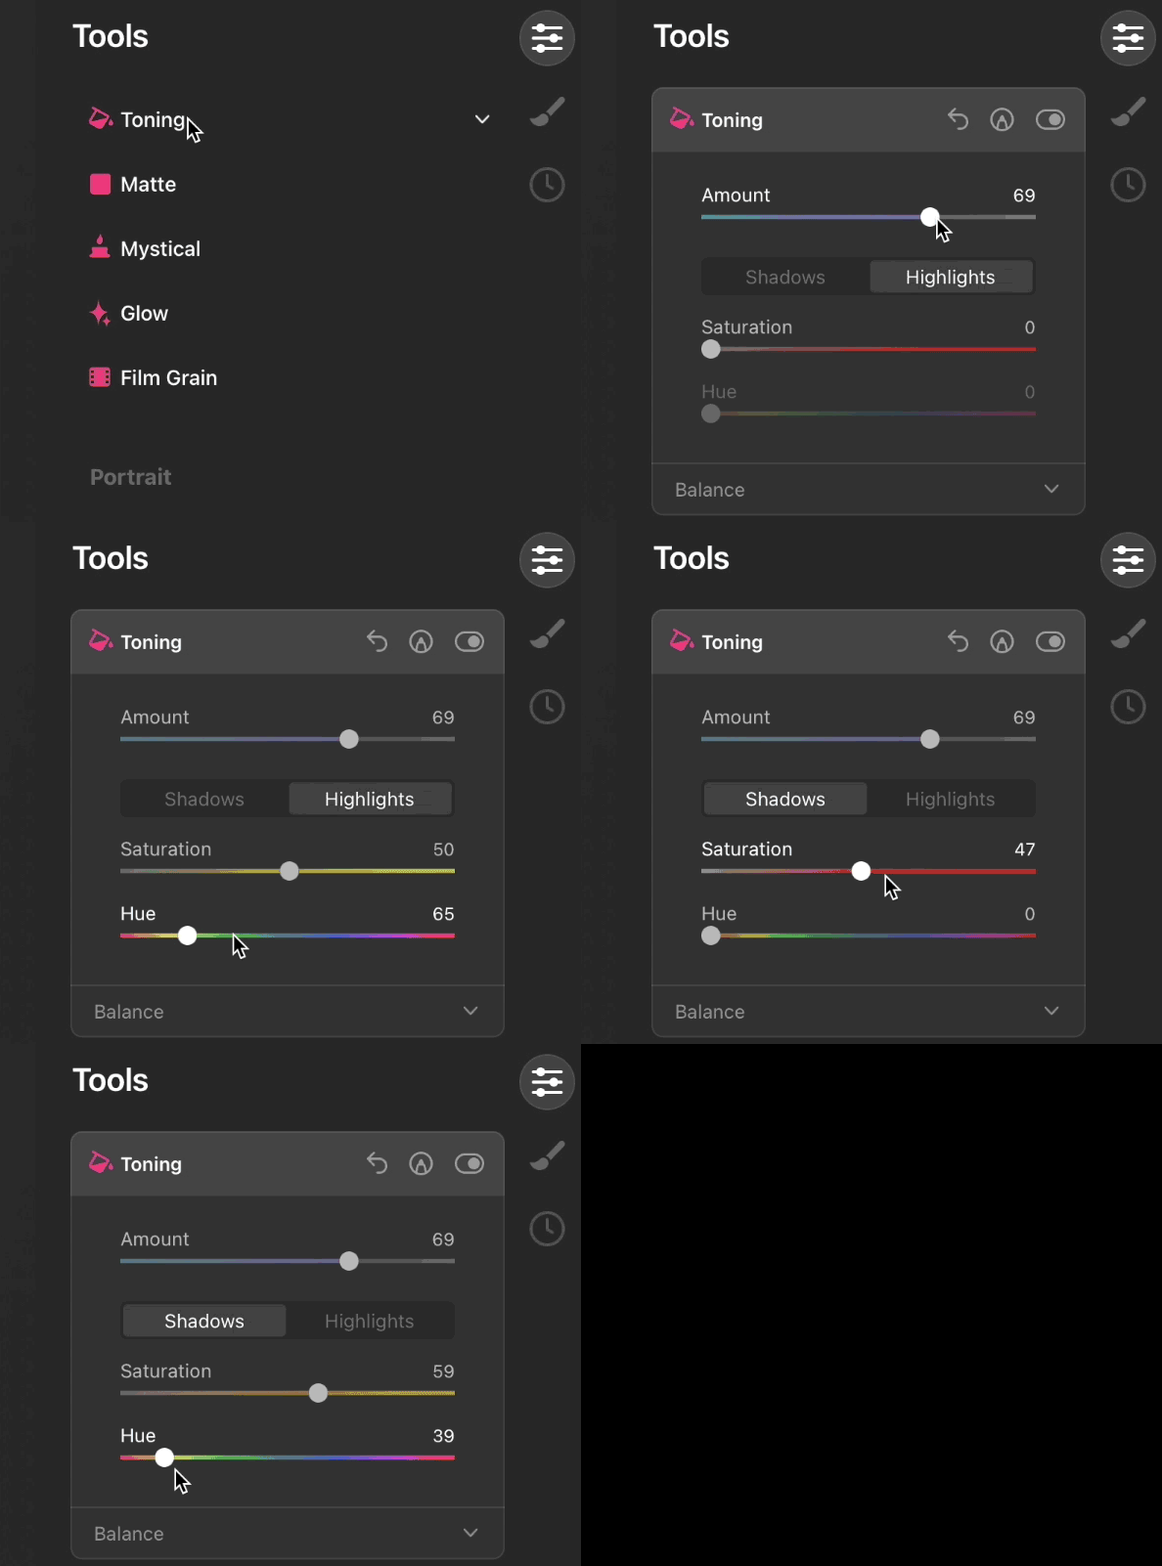
A new redesigned Toning Tool
Now includes Shadows and Highlights buttons. This makes it more in line with the design of the other LuminarAI tools

More helpful tooltips have been added throughout the software
Hover over the icons in LuminarAI to get information on what that option does. Makes a new way to learn what each icon does within LuminarAI
Additional Localization improvement
Localizations in French, German, and Japanese have been improved and the names of Templates in History are now localized.
And of course Bug Fixes
As with all new software, there is always things to fix. They are saying they have fixed 101 bugs with this release.
Here are just some of the highlights of fixes for Mac and Windows.
On Mac OS:
- Use Cmd+Z or Undo in the Erase tool to go back one step instead of removing all previous adjustments AI
- The Sky tool now shows all images in the Custom list, including images with the TIFF
- Install Luminar as a plugin in Lightroom and Photoshop in a beat without duplicate files in the plugin folder
- Export photos and replace existing files in folders without crashes
- Move subfolders within a folder without a hitch
- Use Clone & Stamp on zoomed photos and enjoy a smooth result, without any artifacts or crashes
- Smoothly switch between Template previews with no more overlapping of the previous and next Templates preview
- Add PNG files to your textures in the Local Masking tool
On Windows:
- No more issues with working in the Edit panel, when when the screen is scaled to 150% and you’re viewing in full HD
- Apply changes in the Optics tool and switch to other tools without loss of image sharpness
- Experience a smooth, crash-free migration from Luminar 4 even if the Looks folder is inaccessible or TIF extension AI
- Achieve a realistic background blend when adding your custom Objects in PNG format AI using Augmented Sky
How to update
This is a free update to all existing owners of LuminarAI. To get the update, choose Check for updates in your software. For Mac OS it is located under the LuminarAI menu on the top menu bar. For Windows, click LumianrAI in the left-hand corner, then choose Help > Check for Updates
LuminarAI Manual
And if you still need help, you can always access the LuminarAI user manual online. It is entirely searchable and downloadable


