So you are thinking about night photography and not sure if your camera can do it or what the settings you might use.
Most modern DSLR’s and Mirrorless cameras can take great pictures at night and of the stars, but I would recommend doing some testing before you go out on your first night of night photography shooting. The intent is to
- Let you know if your camera is suitable for night photography and
- To give you a starting point on the settings to use to get the best shot of the night sky or other night shot.
The steps used do not only apply to taking pictures of the sky but any night photography situation you are thinking about such as taking pictures of the city at night.
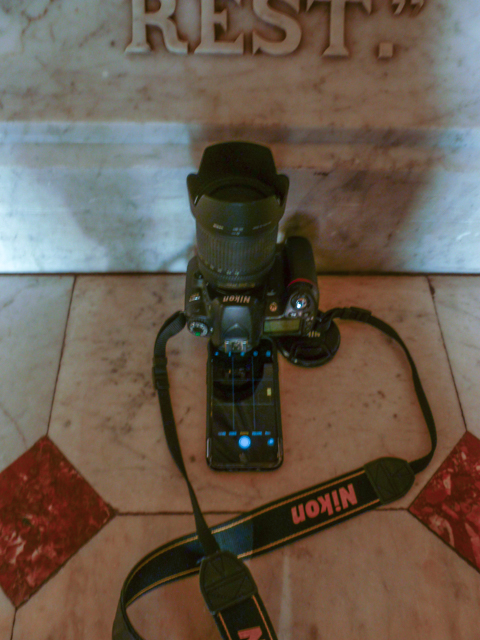
Night sky photography (AKA Astrophotography) is something that I’ve always wanted to and I needed to find out if my current camera was up to the job. On a recent night where there were no clouds in the sky I decided it was time to test my old trusty Nikon D80 to see if it was up to the job. So I headed outside with my tripod (A must if you are doing any low light photography), my Nikon D80 with the Nikkor 18-135 lens, and my wireless remote. The remote is not required, but it does make things a little faster to do. If you don’t have a remote trigger device be it wired or wireless, you can still get your night shots, but you will have to use the camera’s built-in timer function or you will get camera shake when you press down the shutter release button.
For my testing, I put my camera in manual mode, set the aperture (f-stop) as wide as my lens would let me at f3.5 with the lens at its widest setting of 18mm and set the exposure time to 30 secs, which is the longest my camera will go before switching to bulb mode. For the testing, you want the exposure time and f-stop fixed as you will be only adjusting the ISO setting for each shot. You will need to focus your camera to near infinity in order for the stars/night sky to be in focus. Do this manually by turning your focus ring all the way until it stops at infinity and turning it back just a little, or find a distant light and let your autofocus focus on that. After you have set your focus, you must turn off the autofocus feature of your lens or as soon as you go to click your shutter release your camera will just get stuck trying to focus and most likely never focus. On my Nikkor lens, I can turn off the autofocus on the lens. Your camera/lens will vary on how you turn auto focus off. It is your option whether or not to use the long exposure noise reduction option that your camera has. For my testing, I did use my camera’s long exposure noise reduction option. If you are not sure, take a series of pictures with it off, then another series with it on and compare.
Start out at the lowest ISO your camera has, in my case that was 100 and with each picture you take, increase the ISO by one setting stop until you get to the highest your camera can do. For my old trusty Nikon D80 that meant ISO’s of: 100, 125, 160, 200 250 320, 400, 500, 640, 800, 1000, 1250, 1600, HI 0.3, HI 0.7, HI 1.0. When it is all said and done, you should have a range of shots that vary just by the ISO. So I ended up with 16 shots.
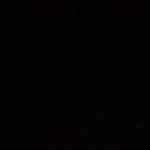
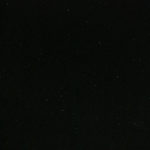
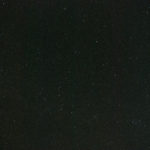
This 5 of the images spread across the full 16 image range of images that I got during this test.
Click on each image to see the full version
After looking at my test shots it tells me a few things
- Due to light pollution and the low sensitivity of my sensor I”m not able to get the Milky Way with this camera. By today’s camera standards, my Nikon D80 has a very low sensitivity as its highest native setting was 1600. Most camera’s today got to at least 25,600.
- To get a decent amount of stars I need to use the higher ISO’s of my camera. At least 1600 if not the digitally enhanced HI settings.
- Even at the higher ISO’s my camera still cannot capture enough light for the faint stars. And even with noise reduction turned on, the pictures are still too noisy.
Just because I cannot capture the stars with my camera I did not give up on night photography as you may have seen in my previous posts from Light City Baltimore.
I’ve been able to get some great night shots in the city with my Nikon D80. This is because the light it much brighter than the faint stars and my camera’s sensor is sensitive enough to get the light at this level.
Just keep in mind that you are doing this testing just as a starting point and to determine what is possible at the max aperture and timed exposure. Once you know this base, if it worked out for you, you can make adjustments when you change the exposure time and aperture. I won’t go into the formula here, but I’m sure you can find it on the internet.
For now, get out there and try some night photography shooting, I’m sure you will get some great pictures.
#nightphotography #Camera #Settings #testing #tips #night #recommendation

